
Setting Up a Zebra GK420 Printer
FRONTSTEPS
Built for Connected Communities
Setting Up a Zebra GK420 Printer
Admin and Dealer Guide
How to set up the Zebra GK420t pass printer for dwellingLIVE, including
the Windows printer settings and Internet Explorer page setup.
AU D I E N C E
Community
Administrators and
Dealers
TO P I C S
Zebra GK420t, Printer
Settings, Internet
Explorer Page Setup
D O C U M E N T T Y P E
Support Guide
FRONTSTEPS | frontsteps.com | Support Guide
★ Table of Contents
1 About This Guide
Which printer is supported and when to call support
2 Setting Up the Printer in Windows
Fifteen steps from USB to printer defaults
3 Opening Internet Explorer on Newer Versions of Windows
Create a .vbs file that opens a hidden Internet Explorer
4 Setting Up Internet Explorer
Seven steps to the browser page setup
5 Quick Reference
All the settings on one page, plus how to reach support
FRONTSTEPS Setting Up a Zebra GK420 Printer
frontsteps.com | Built for Connected Communities Page 1
1 About This Guide
The pass printer most commonly used with dwellingLIVE is the Zebra GK420t. It is recommended that
the Zebra GK420t is used with dwellingLIVE, as it is the only printer that is supported by
FRONTSTEPS.
If the computer in use is not a dwellingLIVE App Station, the printer can be set up by anyone. This
guide walks through the Windows printer settings and the Internet Explorer page setup the printer
needs.
! Using a dwellingLIVE App Station?
If the computer is a dwellingLIVE App Station, please contact support for assistance instead. Call
8009924384. Select 1 for Support, then 4 for Security Support, including dwellingLIVE. You
can also email [email protected].
Before You Start
You have the Zebra GK420t printer and a USB cable[ ]
The computer is not a dwellingLIVE App Station[ ]
You can open the Start menu, Control Panel, and Notepad on the computer[ ]
FRONTSTEPS Setting Up a Zebra GK420 Printer
frontsteps.com | Built for Connected Communities Page 2
2 Setting Up the Printer in Windows
1 Plug in the printer
Plug the printer into an available USB port on the computer.
2 Open Control Panel
Open the Start menu and search for Control Panel.
3 Open Devices and Printers
Select Control Panel, then select Devices and Printers.
4 Set the default printer
Right-click the Zebra GK420t, then select Set as default printer.
Right-click menu with Set as default printer highlighted
5 Open Printing Preferences
Right-click again, then select Printing preferences.
Right-click menu with Printing preferences highlighted
6 Open the Options tab
Select the Options tab.
7 Set the paper format
Under Paper Format, select inch and landscape.
8 Set the size
Under Size, set Width to 4.00 and Height to 5.85.
FRONTSTEPS Setting Up a Zebra GK420 Printer
frontsteps.com | Built for Connected Communities Page 3
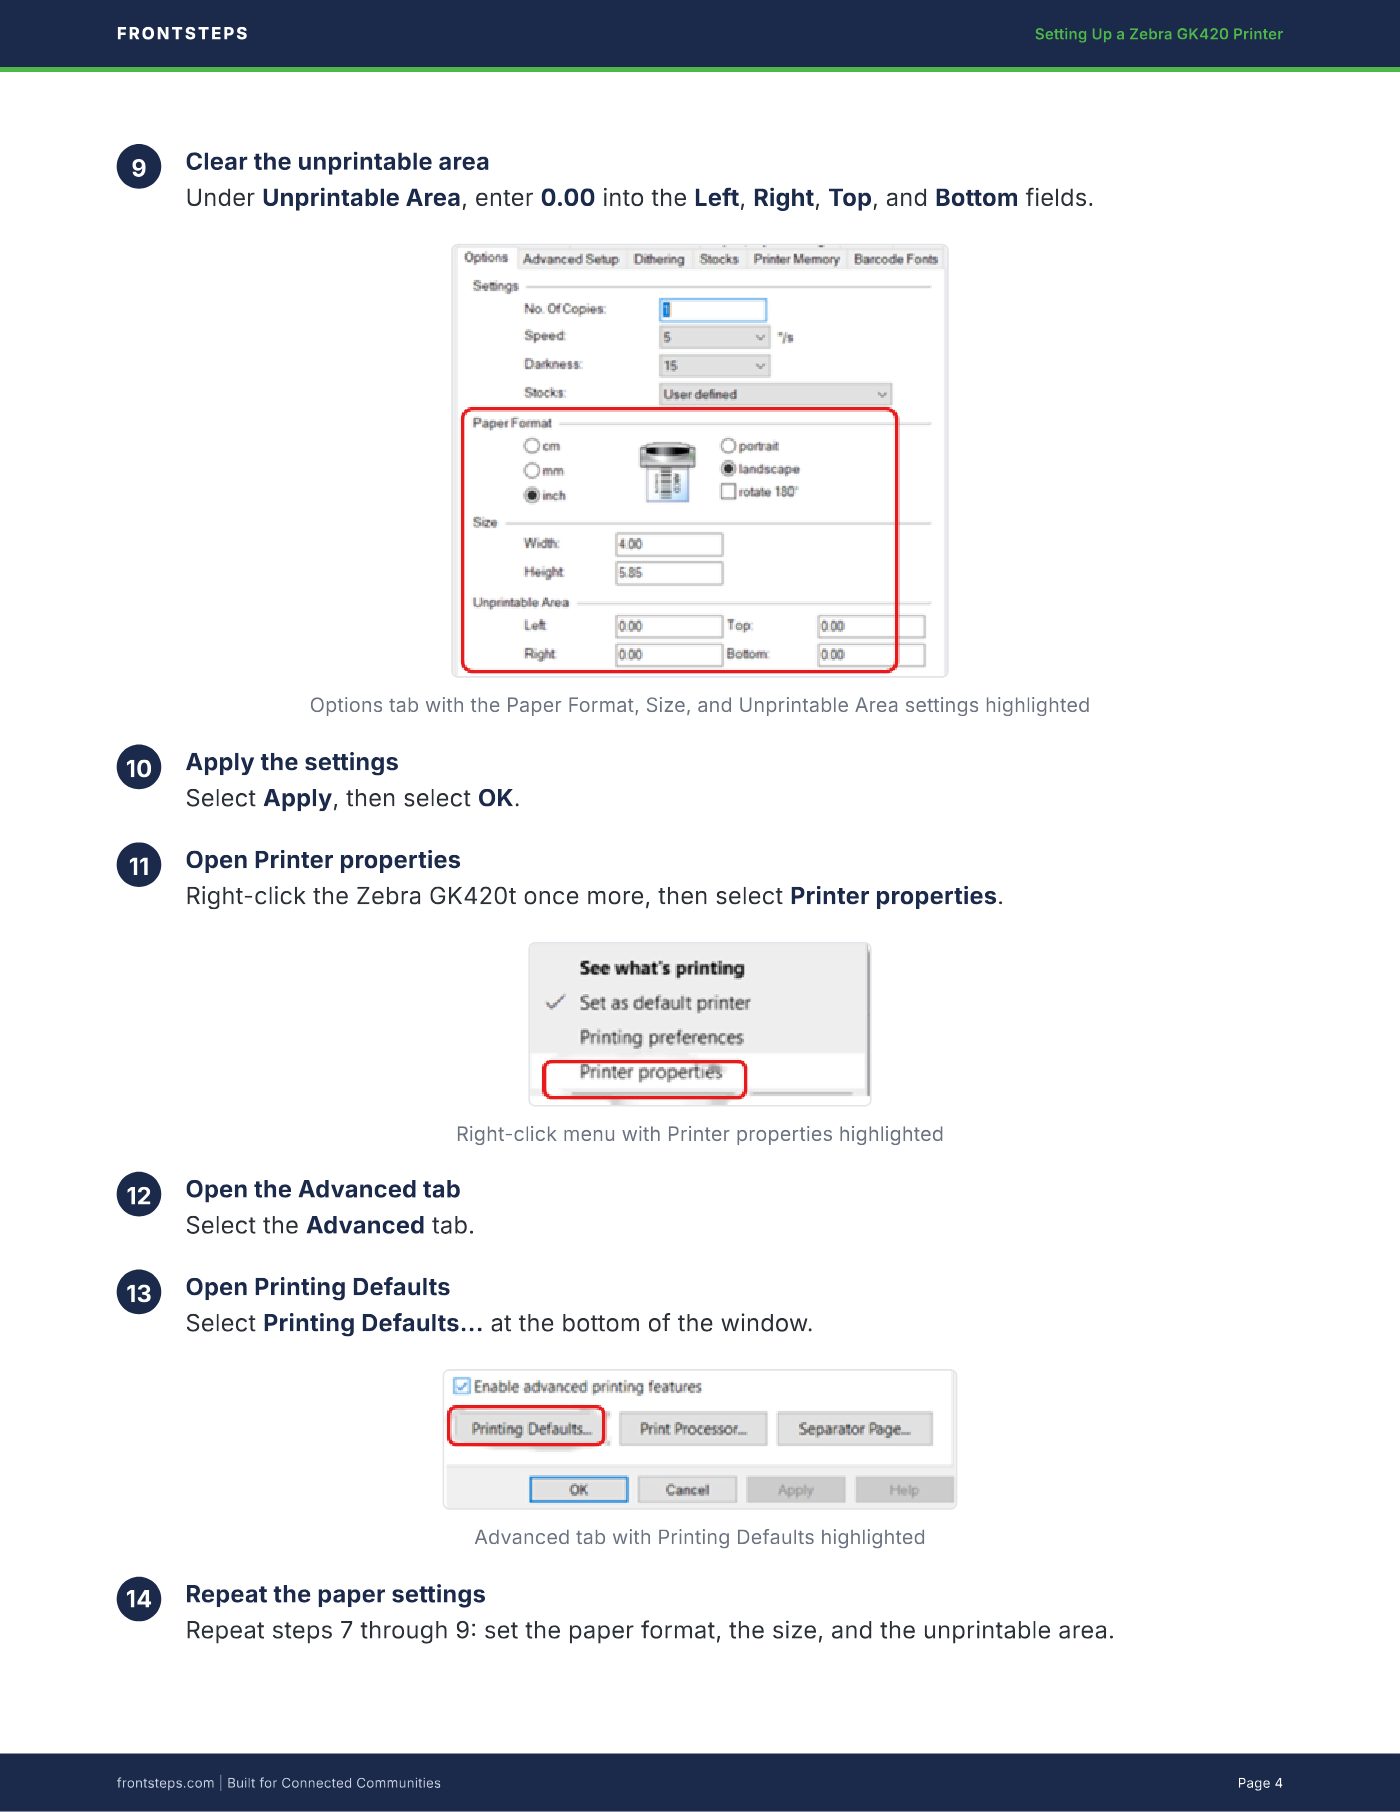
9 Clear the unprintable area
Under Unprintable Area, enter 0.00 into the Left, Right, Top, and Bottom fields.
Options tab with the Paper Format, Size, and Unprintable Area settings highlighted
10 Apply the settings
Select Apply, then select OK.
11 Open Printer properties
Right-click the Zebra GK420t once more, then select Printer properties.
Right-click menu with Printer properties highlighted
12 Open the Advanced tab
Select the Advanced tab.
13 Open Printing Defaults
Select Printing Defaults... at the bottom of the window.
Advanced tab with Printing Defaults highlighted
14 Repeat the paper settings
Repeat steps 7 through 9 set the paper format, the size, and the unprintable area.
FRONTSTEPS Setting Up a Zebra GK420 Printer
frontsteps.com | Built for Connected Communities Page 4
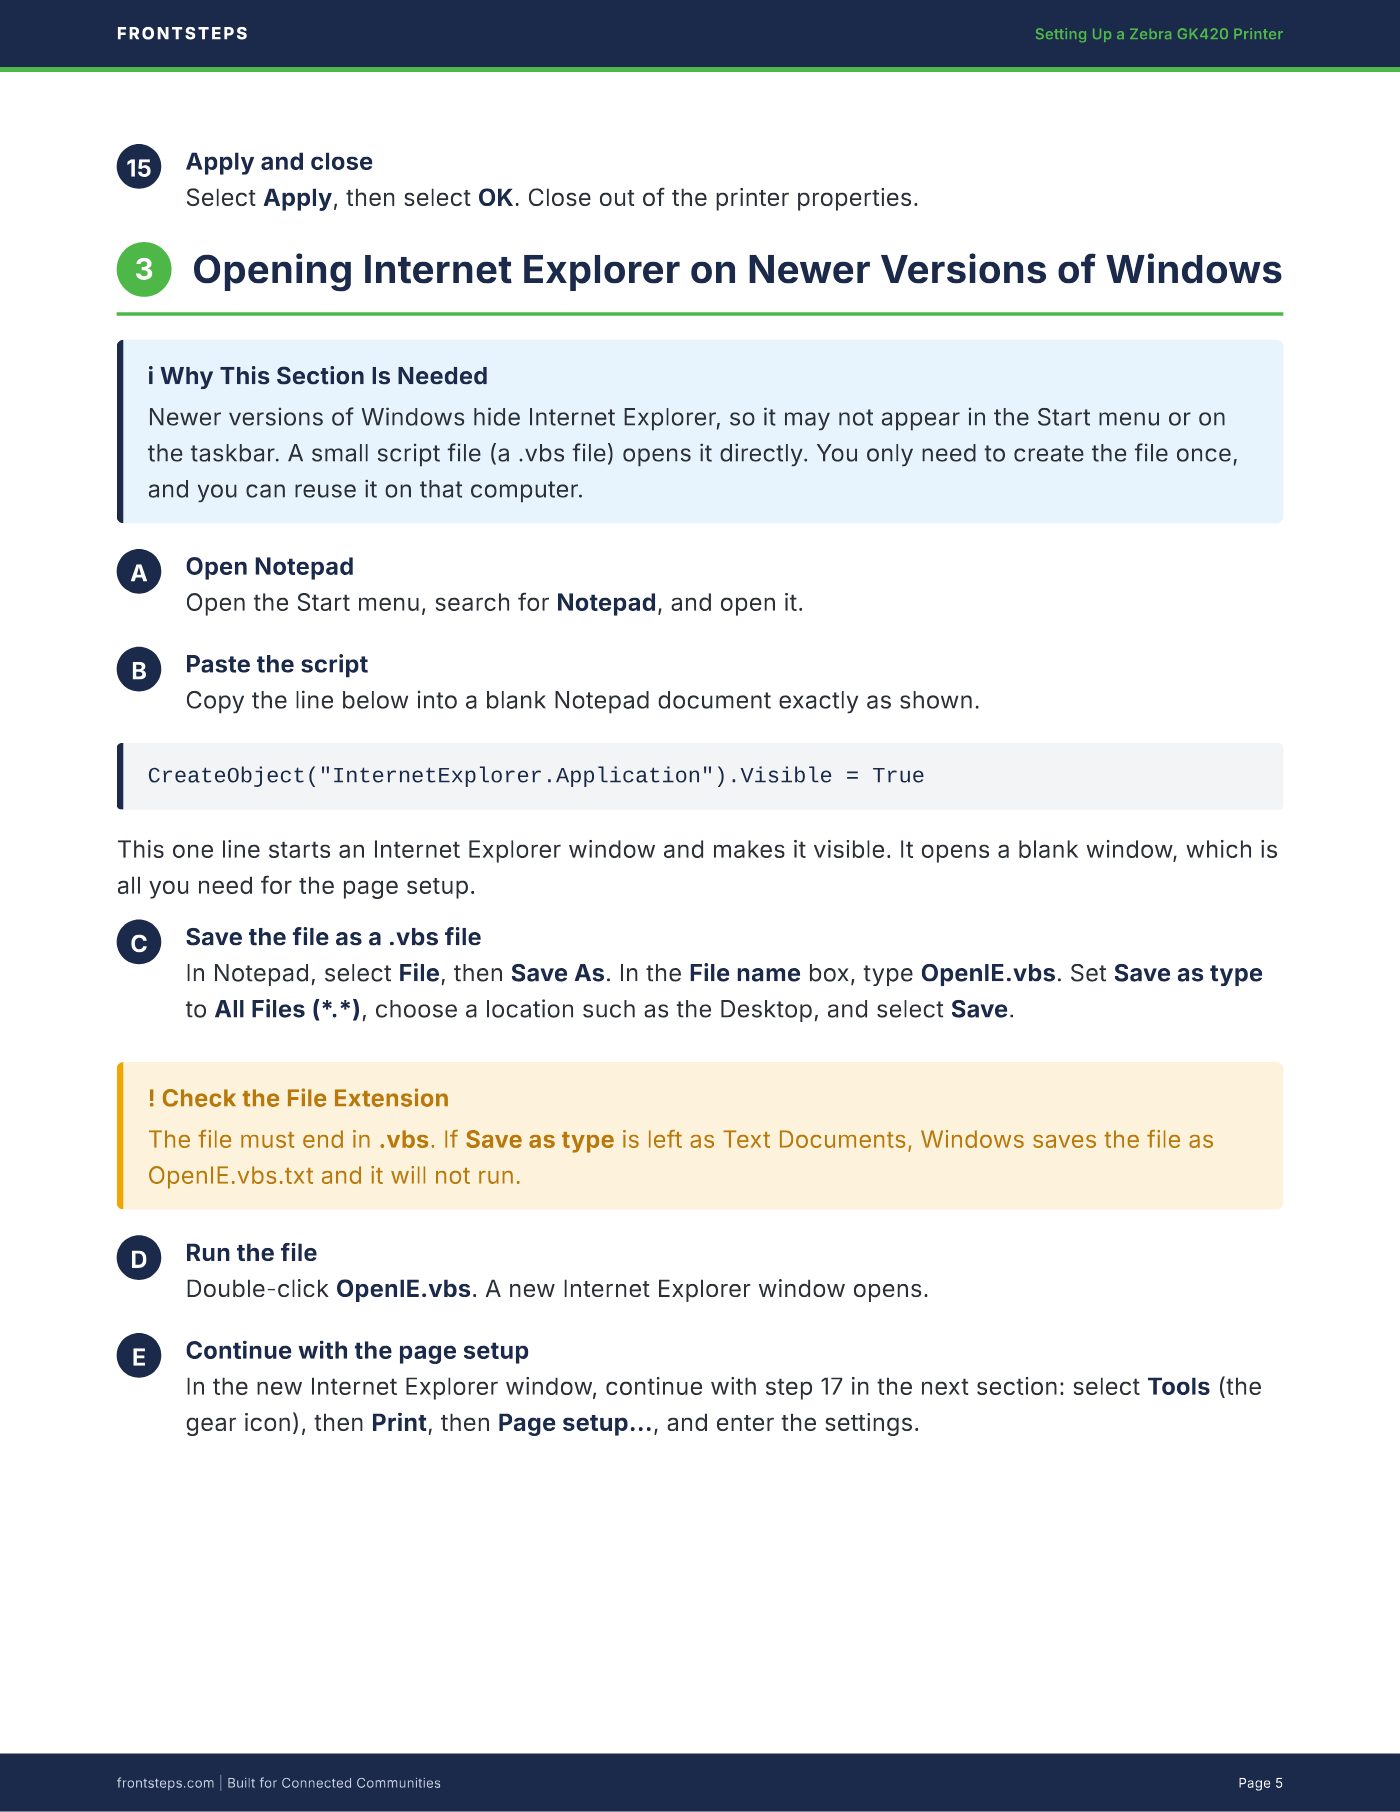
15 Apply and close
Select Apply, then select OK. Close out of the printer properties.
3 Opening Internet Explorer on Newer Versions of Windows
i Why This Section Is Needed
Newer versions of Windows hide Internet Explorer, so it may not appear in the Start menu or on
the taskbar. A small script file (a .vbs file) opens it directly. You only need to create the file once,
and you can reuse it on that computer.
A Open Notepad
Open the Start menu, search for Notepad, and open it.
B Paste the script
Copy the line below into a blank Notepad document exactly as shown.
CreateObject("InternetExplorer.Application").Visible = True
This one line starts an Internet Explorer window and makes it visible. It opens a blank window, which is
all you need for the page setup.
C Save the file as a .vbs file
In Notepad, select File, then Save As. In the File name box, type OpenIE.vbs. Set Save as type
to All Files (*.*), choose a location such as the Desktop, and select Save.
! Check the File Extension
The file must end in .vbs. If Save as type is left as Text Documents, Windows saves the file as
OpenIE.vbs.txt and it will not run.
D Run the file
Double-click OpenIE.vbs. A new Internet Explorer window opens.
E Continue with the page setup
In the new Internet Explorer window, continue with step 17 in the next section: select Tools (the
gear icon), then Print, then Page setup..., and enter the settings.
FRONTSTEPS Setting Up a Zebra GK420 Printer
frontsteps.com | Built for Connected Communities Page 5
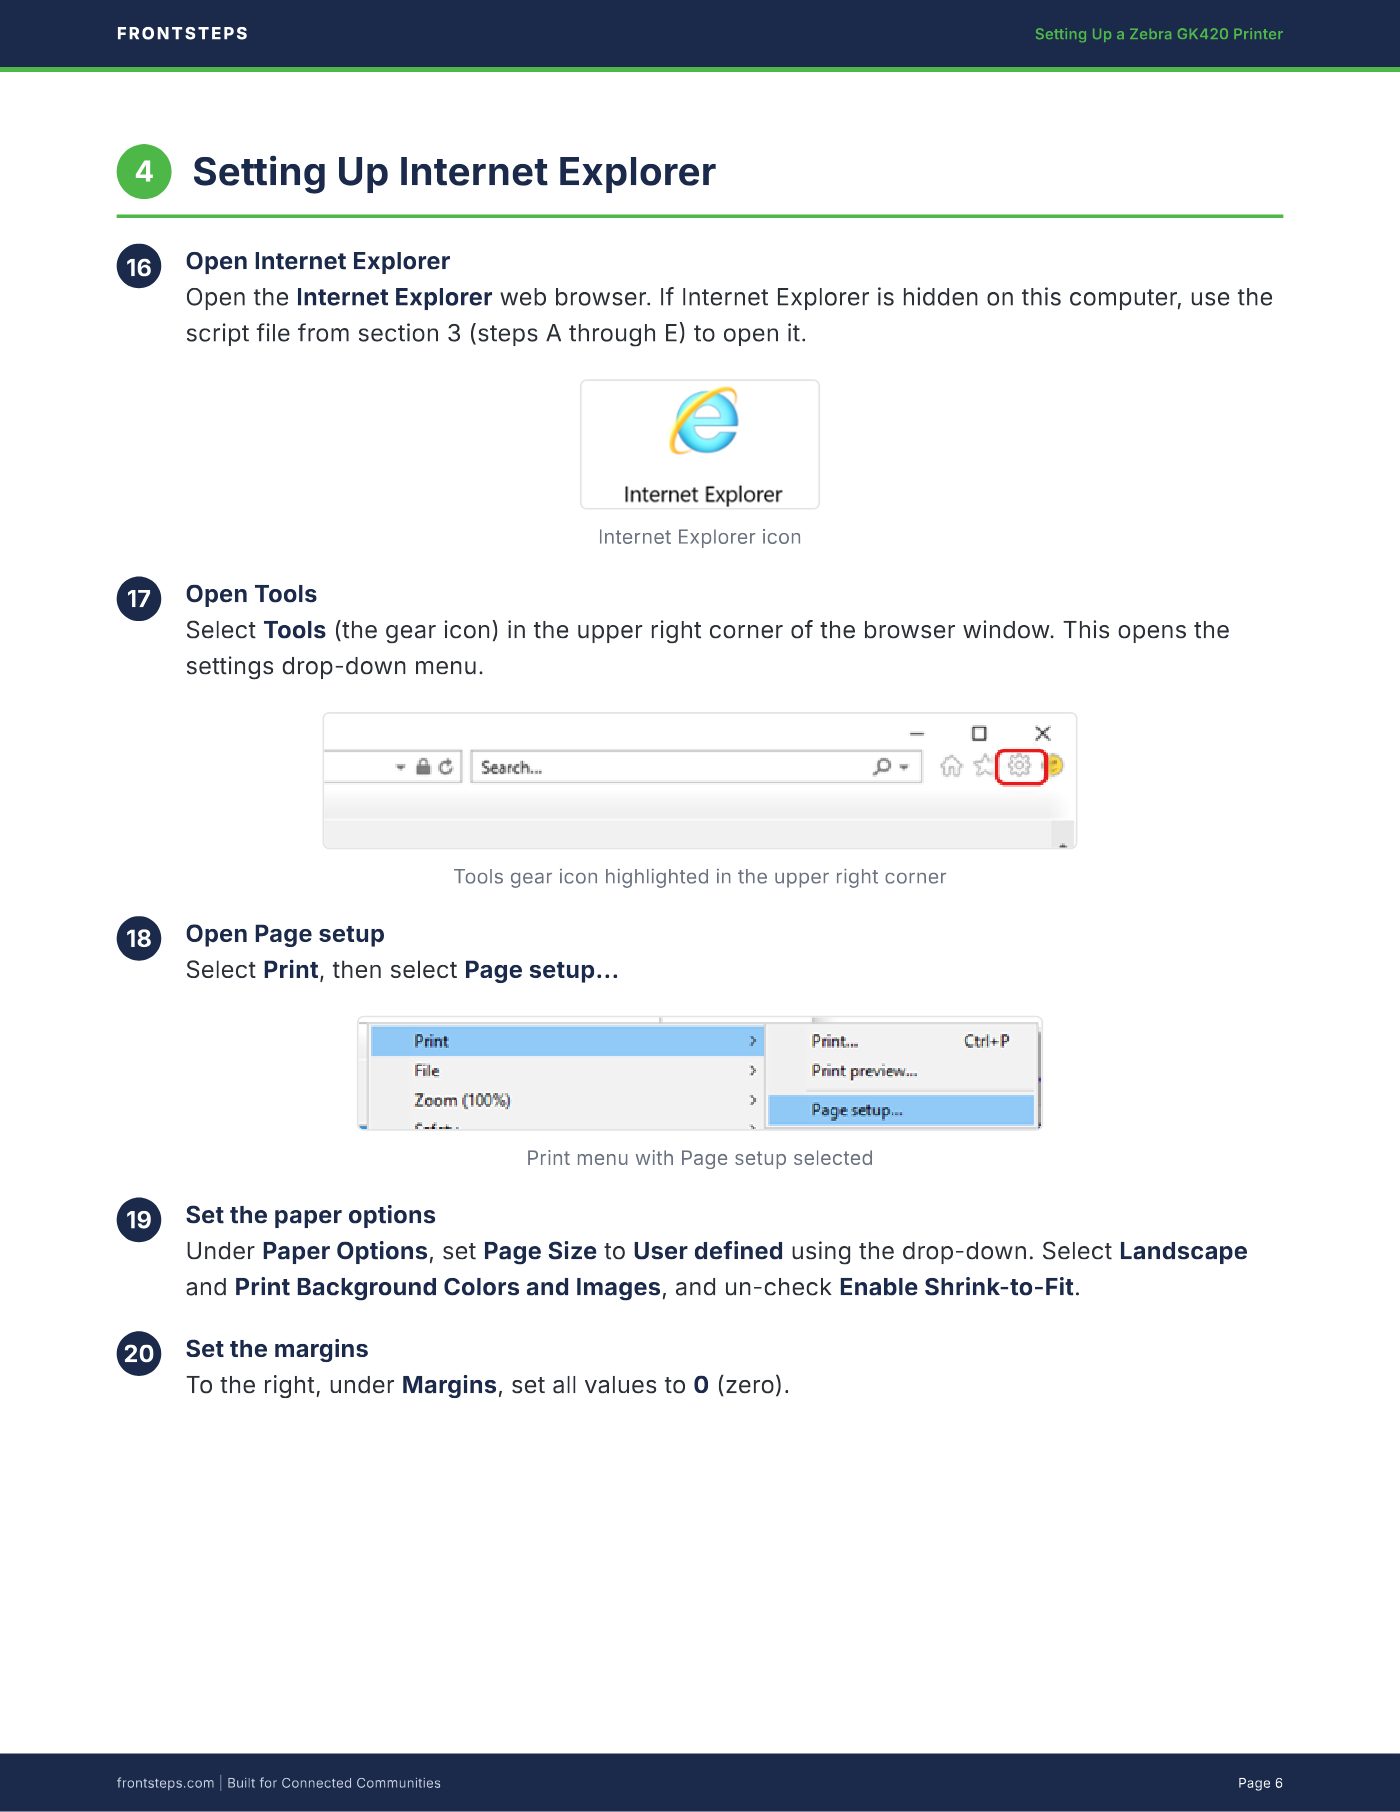
4 Setting Up Internet Explorer
16 Open Internet Explorer
Open the Internet Explorer web browser. If Internet Explorer is hidden on this computer, use the
script file from section 3 (steps A through E to open it.
Internet Explorer icon
17 Open Tools
Select Tools (the gear icon) in the upper right corner of the browser window. This opens the
settings drop-down menu.
Tools gear icon highlighted in the upper right corner
18 Open Page setup
Select Print, then select Page setup...
Print menu with Page setup selected
19 Set the paper options
Under Paper Options, set Page Size to User defined using the drop-down. Select Landscape
and Print Background Colors and Images, and un-check Enable Shrink-to-Fit.
20 Set the margins
To the right, under Margins, set all values to 0 (zero).
FRONTSTEPS Setting Up a Zebra GK420 Printer
frontsteps.com | Built for Connected Communities Page 6
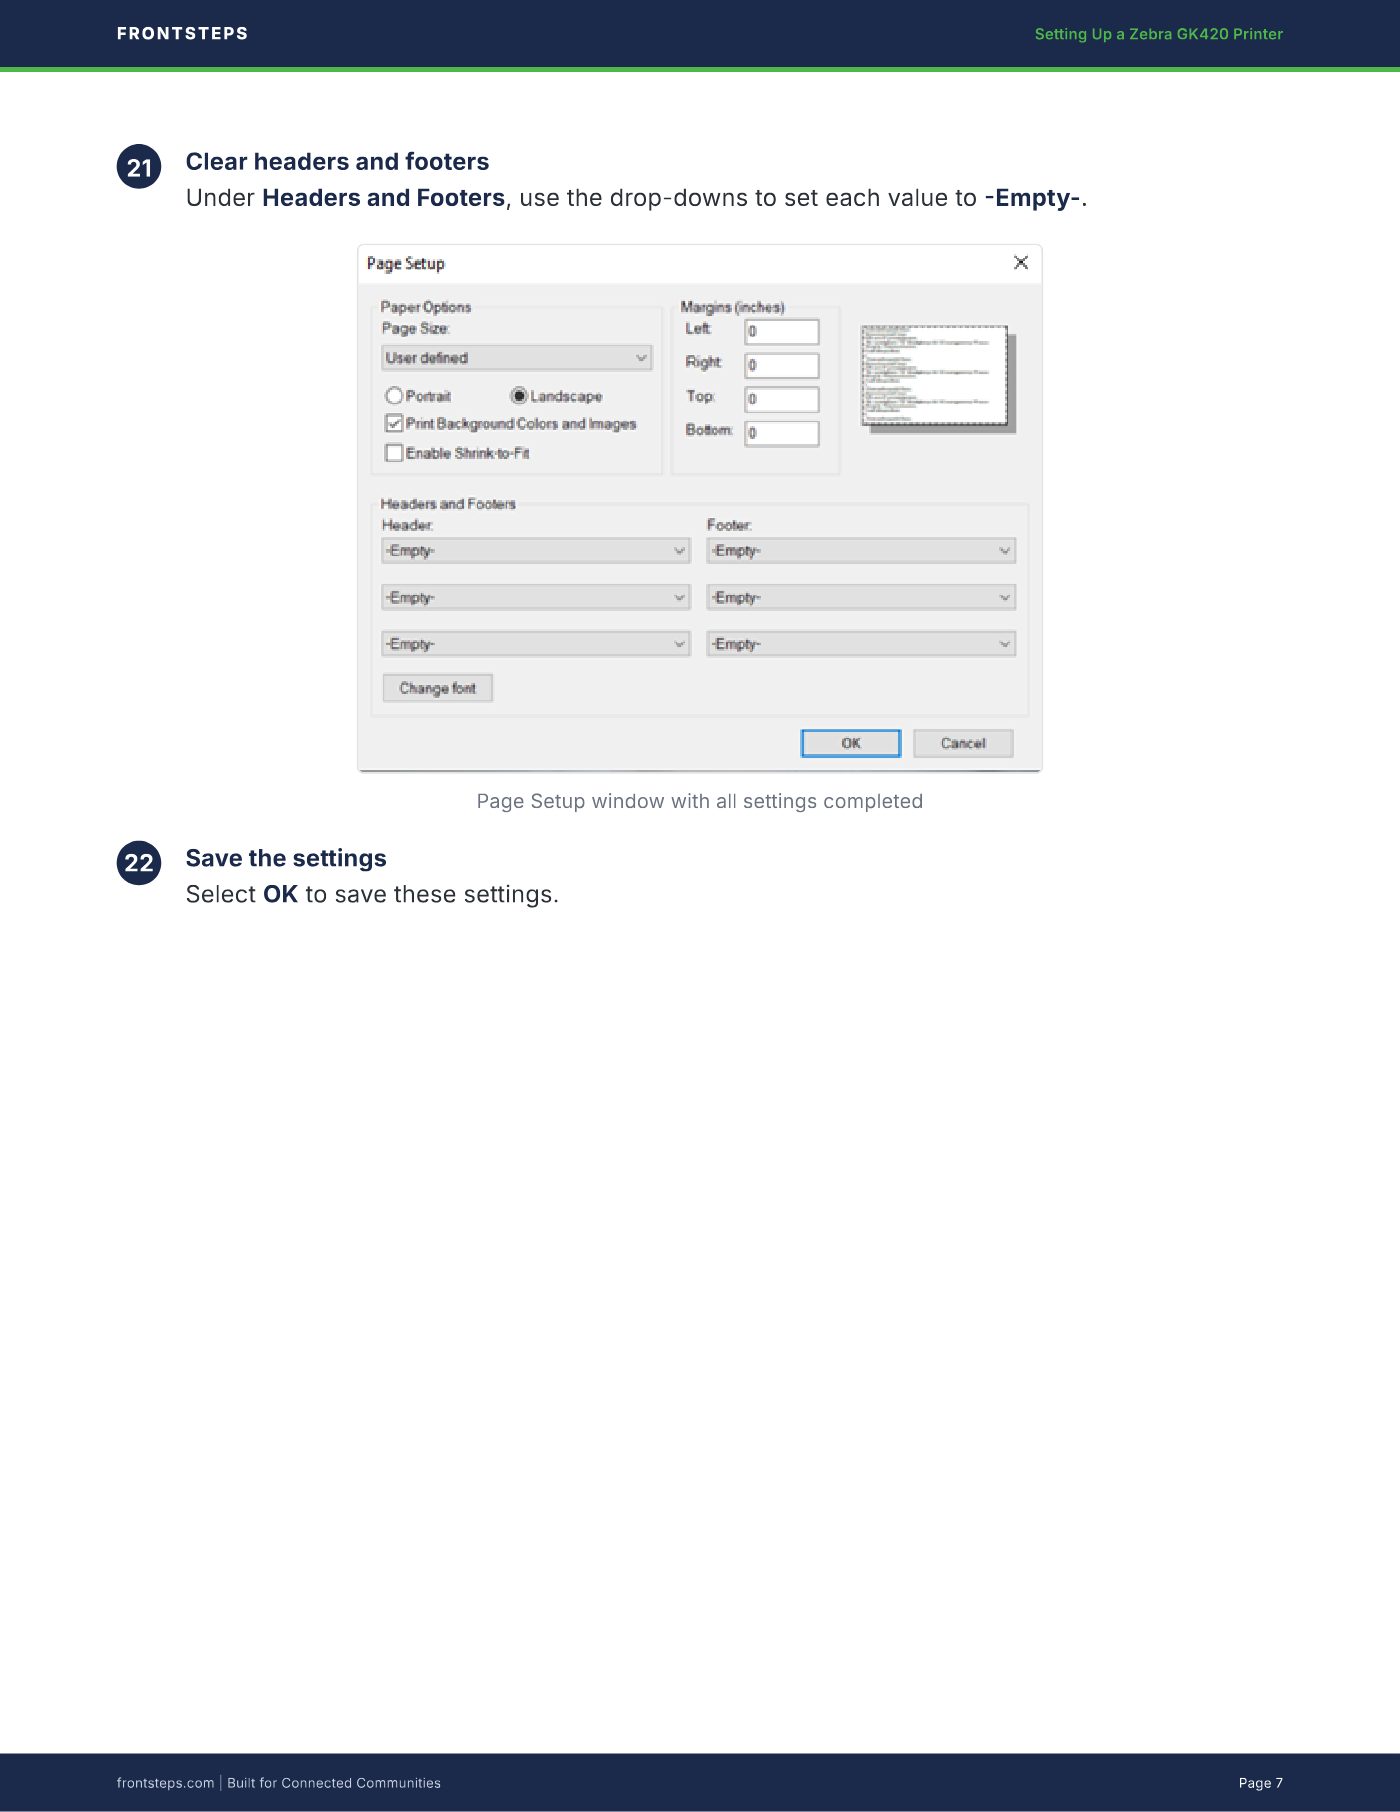
21 Clear headers and footers
Under Headers and Footers, use the drop-downs to set each value to Empty-.
Page Setup window with all settings completed
22 Save the settings
Select OK to save these settings.
FRONTSTEPS Setting Up a Zebra GK420 Printer
frontsteps.com | Built for Connected Communities Page 7
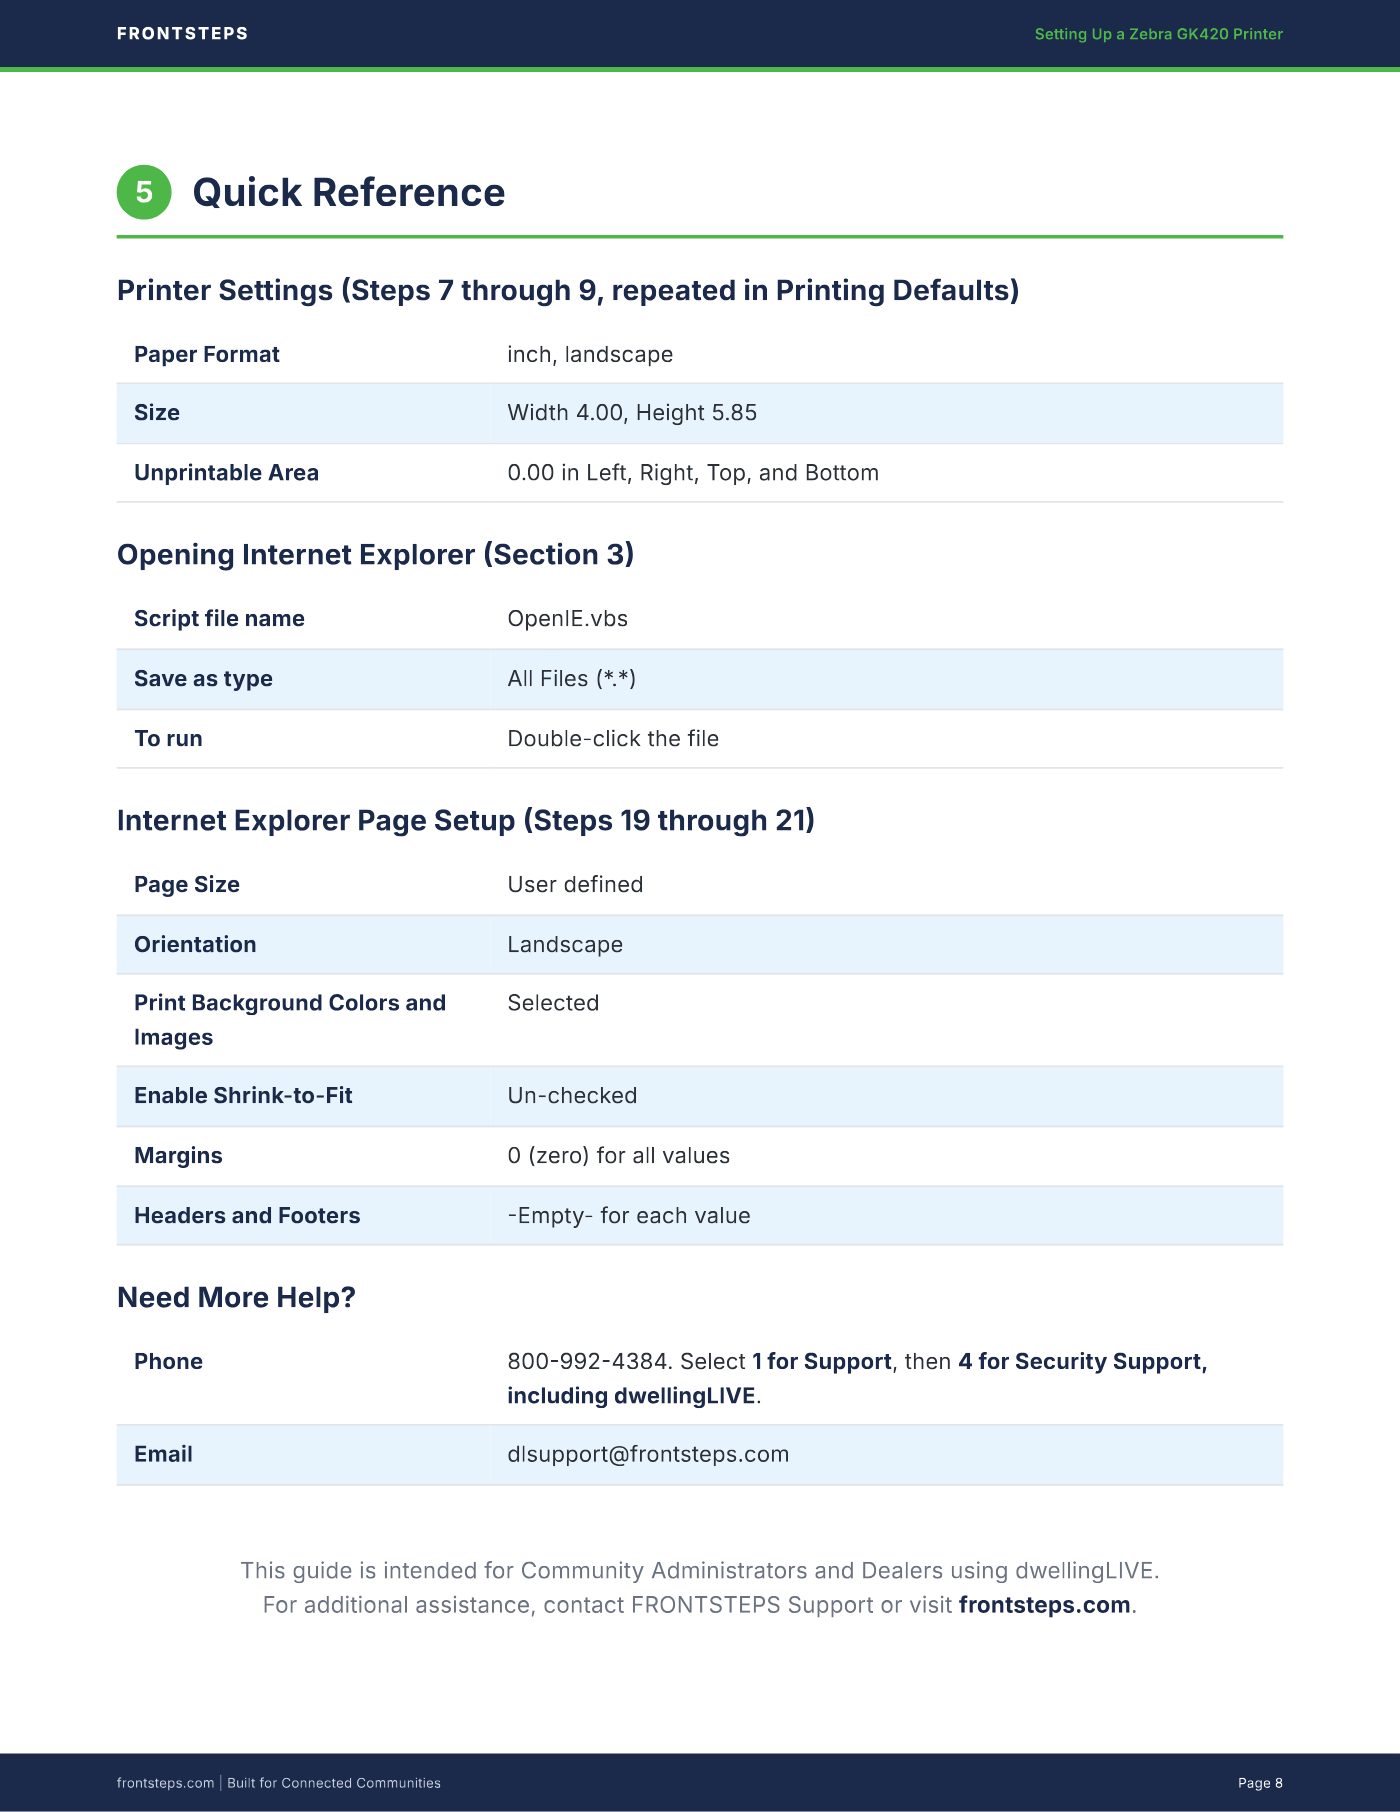
5 Quick Reference
Printer Settings Steps 7 through 9, repeated in Printing Defaults)
Paper Format inch, landscape
Size Width 4.00, Height 5.85
Unprintable Area 0.00 in Left, Right, Top, and Bottom
Opening Internet Explorer Section 3
Script file name OpenIE.vbs
Save as type All Files (*.*)
To run Double-click the file
Internet Explorer Page Setup Steps 19 through 21
Page Size User defined
Orientation Landscape
Print Background Colors and
Images
Selected
Enable Shrink-to-Fit Un-checked
Margins 0 (zero) for all values
Headers and Footers Empty- for each value
Need More Help?
Phone 8009924384. Select 1 for Support, then 4 for Security Support,
including dwellingLIVE.
Email [email protected]
This guide is intended for Community Administrators and Dealers using dwellingLIVE.
For additional assistance, contact FRONTSTEPS Support or visit frontsteps.com.
FRONTSTEPS Setting Up a Zebra GK420 Printer
frontsteps.com | Built for Connected Communities Page 8